Padding Pixel Ruler

Click the Px icon on the toolbar. The ruler turns on.
Click the puzzle piece (1) at the top right. Then click the pin (2) next to Padding Pixel Ruler.

-
Step 1
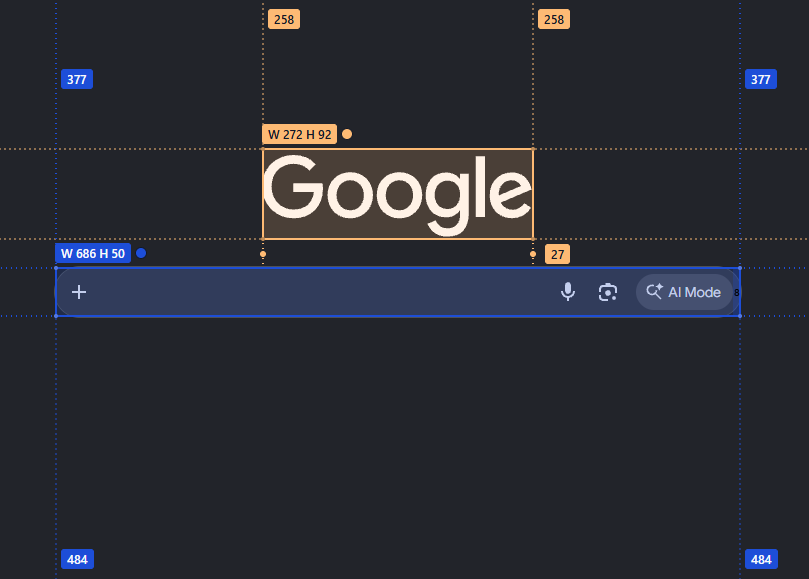
Move over a block. Read its width and height, and the gaps around it.
-
Step 2
On a light page the marks stay easy to read. Click a block to keep them.

-
Step 3
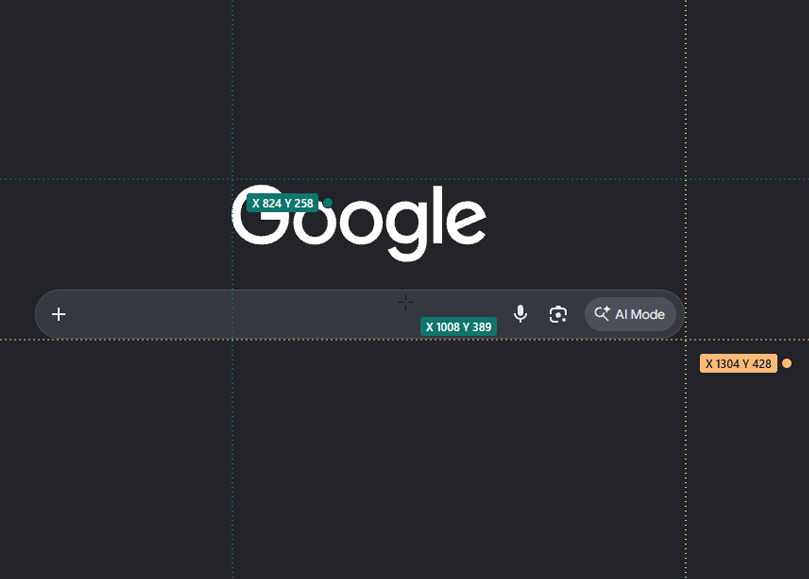
Press W for guides. Read X and Y on the lines you leave.
Help
Left-click the block. Its width and height stay on the page. Blocks you already selected stay too. A second left-click on the same block changes nothing.
Left-click each block, or drag a box around them. The box adds blocks. It does not clear the ones already selected.
Hold Ctrl and left-click that block. On a Mac, hold ⌘. Only that mark goes away.
Right-click a selected block. Dotted lines show its gaps. Right-click the same block again to hide them. A gap between two blocks appears when both blocks have their lines on.
Move onto the point on that line. The number appears beside it.
Move onto the color point beside the width and height. Left-click it and choose a color.
Move onto the color point, then right-click it. The menu shows margin, border, padding, and the parent blocks. Click a parent name to select or clear that block.
Press W. Hold Ctrl and left-click. On a Mac, hold ⌘. The cross stays and shows X and Y. It snaps to a nearby edge. Hold Shift while you click to place it exactly where you click.
Left-click that line. The other line of the cross stays.
Move onto the color point beside X and Y. Left-click it and choose a color.